A fun easter card is a cheerful, creative greeting card featuring playful springtime designs, humorous puns, interactive elements, or colorful illustrations. It gives you a personal, budget-friendly way to share seasonal joy, express warm wishes, and surprise family and friends during spring celebrations.
Have you ever opened an envelope expecting a plain, boring store-bought note, only to find a lively spring surprise that instantly made you smile? Sending a fun easter card is one of the sweetest ways to bring genuine cheer to your loved ones as winter weather fades away.
Creating a fun easter card lets you combine bright spring pastels, silly egg-themed jokes, and creative papercrafting techniques into a memorable gift. Whether you want to craft interactive pop-up cards with kids or write clever puns for co-workers, homemade greetings always stand out.
In this friendly guide, we will explore creative themes, craft supply picks, clever messaging ideas, and easy step-by-step methods to help you craft amazing cards. Let us bring your cheerful spring greeting ideas to life!
Why Sending Handmade Spring Greetings Creates Lasting Memories
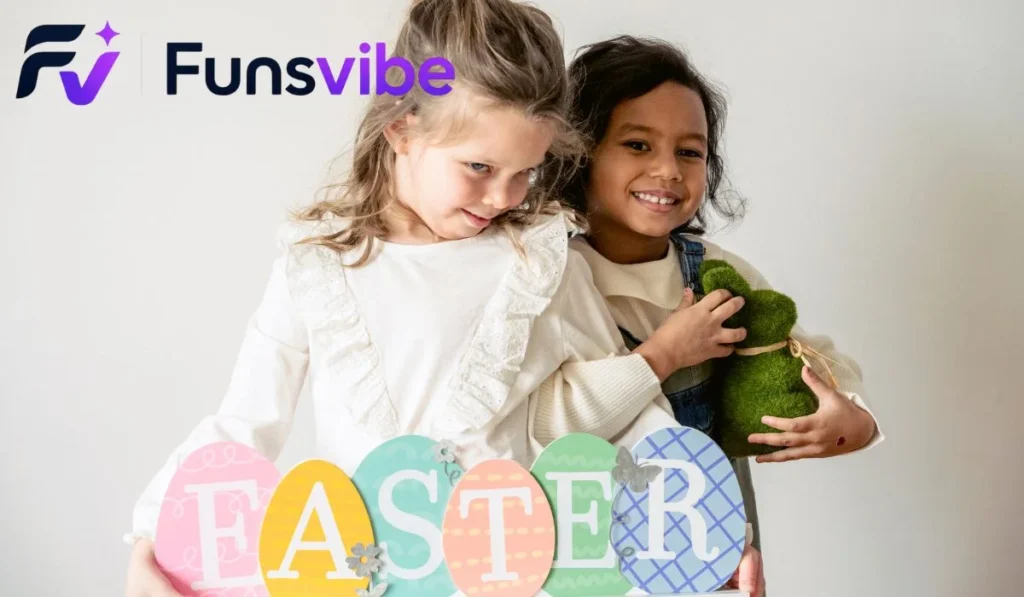
Digital text messages are quick and convenient, but receiving a tangible physical card in your mailbox feels special and intentional. Physical greetings create a real sensory experience through textured cardstock, ribbon accents, and handwritten messages.
Making a fun easter card allows you to customize every detail for the recipient, matching their personality and sense of humor perfectly. It transforms a simple holiday greeting into a keepsake that family members proudly display on mantelpieces year after year.
Crafting cards also offers a relaxing break from screens, giving kids and adults a creative outlet during the holiday weekend. It turns card-making into a fun family tradition filled with laughter, glue sticks, and colorful paper scraps.
The Emotional Value of Physical Greeting Cards
In an age of instant notifications, taking twenty minutes to design and write a card shows deep care and thoughtfulness. People naturally save handmade notes in memory boxes because they reflect personal effort and shared emotional connection.
When an aunt or grandparent opens an envelope to reveal a pop-up bunny or hand-stamped flower, they feel instantly remembered and cherished. That emotional warmth lasts far longer than any quick social media comment ever could.
A Fun Holiday Activity for Kids and Families
Spring card-making is a wonderful way to keep young children entertained while teaching them fine motor skills and creative expression. Kids love dipping fingers in washable paint, sticking fluffy cotton ball tails on drawn bunnies, and scattering eco-friendly glitter.
Setting up a craft station at your kitchen table encourages storytelling, color matching, and hand-eye coordination. It gives children a sense of pride when they hand-deliver their finished colorful masterpieces to teachers, neighbors, and friends.
Choosing the Best Style for Your Spring Card Project

Greeting card styles range from simple single-fold paper designs to complex interactive mechanics that pop, slide, or spin. Choosing the right design style depends on your available crafting time, your tools, and who will receive the finished piece.
Mixing different creative techniques across your card batch keeps the crafting process feeling fresh, varied, and exciting. Let us look at the most popular design styles that bring spring cards to life.
Interactive Pop-Up and Slider Cards
Interactive cards add an element of surprise because the design moves as soon as the recipient opens the paper fold. A hidden chick bursting out of a paper egg or a bunny sliding across a grassy field creates instant joy.
While interactive cards look complex, they rely on simple paper tabs, folded accordion strips, and basic mechanical cuts. Once you master a basic pop-up tab, you can attach any drawn character or cut-out shape to it effortlessly.
Whimsical Bunny and Chick Illustrations
Classic spring icons like floppy-eared rabbits, hatching yellow chicks, and buzzing bumblebees bring instant charm to any paper design. You do not need to be a professional illustrator to draw cute holiday characters on your cards.
Combining simple geometric shapes—like stacking round ovals for a bunny body or drawing triangles for a chick beak—makes sketching easy for beginners. Adding big googly eyes or drawn rosy cheeks gives your characters instant personality.
Clean and Modern Geometric Patterns
If you prefer a contemporary look, geometric egg patterns and minimalist botanical layouts offer a stylish alternative to cartoon characters. Arranging colorful paper strips into woven patterns mimics traditional dyed egg designs beautifully.
Using pastel cardstock cut into clean triangles or overlapping circles creates sophisticated visual depth with minimal effort. This approach works wonderfully when making stylish greetings for colleagues, clients, or adult friends.
Spring Greeting Card Material and Technique Comparison
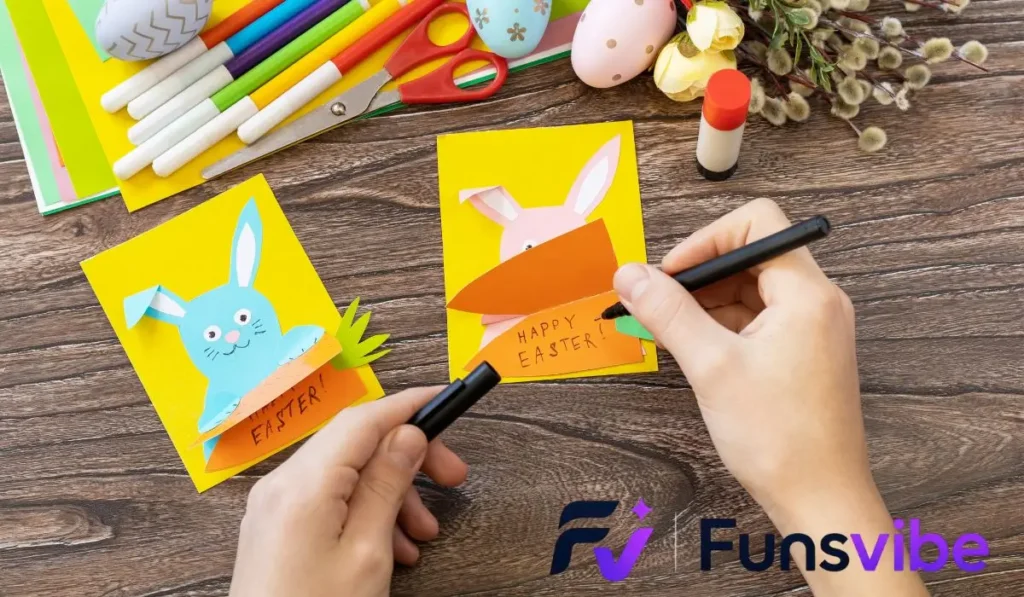
Essential Crafting Supplies You Need to Get Started
You do not need an expensive craft studio to produce beautiful handmade greeting cards at home. Gathering a few versatile foundational tools lets you complete dozens of colorful projects easily.
Keeping your workspace organized before starting prevents messy glue spills and lost scissors mid-project. Here are the core craft supplies that make card-making smooth, clean, and enjoyable.
Selecting the Right Cardstock Weight
Regular printer paper is too thin for card-making because wet glue causes it to wrinkle, warp, and tear easily. Investing in sturdy cardstock weighing between 80-pound and 110-pound cover weight ensures your folded card stands upright without sagging.
Pre-cut and pre-folded card bases save immense prep time, allowing you to focus entirely on decorating the front and writing inside. Smooth matte white cardstock provides the most versatile surface for stamping, coloring, and gluing paper layers.
Adhesives, Cutters, and Finishing Touches
Using the correct adhesive prevents paper layers from peeling apart or bubbling over time. Foam tape creates dramatic raised three-dimensional shadows, while liquid craft glue with fine tips handles delicate paper die cuts precisely.
- Precision Scissors: Small, sharp detail scissors make cutting around intricate curves like bunny ears smooth and accurate.
- Double-Sided Tape Runners: Clean, dry tape strips stick instantly without warping light paper layers or leaving sticky mess.
- 3D Foam Squares: These raised adhesive dots lift paper elements off the base, adding instant depth and professional framing.
- Decorative Edge Shears: Wavy or zig-zag scissors turn plain paper borders into playful grass blades or decorative egg rims.
Step-by-Step Guide: Crafting a 3D Pop-Up Egg Card
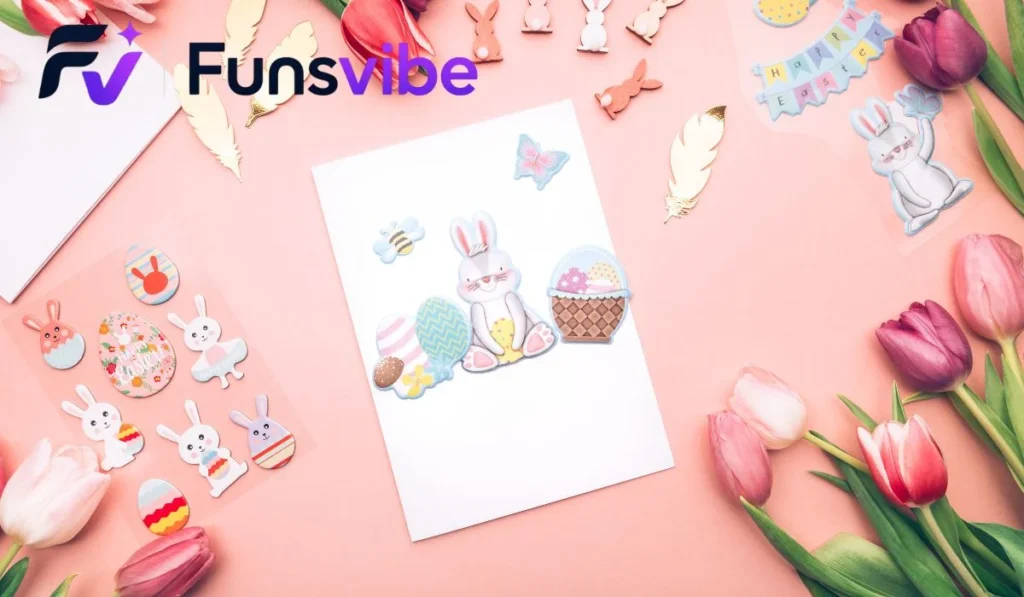
Creating a three-dimensional pop-up card is simpler than it looks, requiring only a few strategic cuts and folds. Follow this easy step-by-step tutorial to craft an impressive hatching chick card that delights readers upon opening.
Work carefully with your ruler and scissors during early scoring phases to ensure clean, crisp folds. Here is how to complete your interactive pop-up card step-by-step.
- Prepare Your Card Base: Fold an 8.5 x 11-inch sheet of heavy white cardstock in half horizontally to create a crisp 5.5 x 8.5-inch base.
- Cut Pop-Up Mechanism Tabs: Along the folded spine, make two parallel one-inch cuts set two inches apart, then push the cut loop inward to form a pop-up step.
- Attach Background Layers: Glue light blue and soft green paper panels inside the card base, keeping the central folded pop-up tab clear of glue.
- Decorate the Pop-Up Element: Draw and cut out a bright yellow hatching chick, then glue its back securely onto the front face of the raised step.
- Add Exterior Cover Accents: Glue an oversized patterned egg shape onto the front cover, finishing with a hand-written greeting and shiny ribbon bow.
Writing Clever Puns and Warm Greetings Inside Your Card
Finding the right words to write inside your card brings your paper creation to life. Combining clever seasonal puns with warm, heartfelt personal messages creates the ultimate reading experience.
Tailoring your tone to fit the reader ensures your card feels genuine, funny, and appropriate. Here are message ideas categorized by tone to inspire your internal penmanship.
Silly and Puns-Filled Messages for Kids and Friends
Playful wordplay brings instant smiles to readers of all ages, making your card feel lighthearted and energetic. Do not hesitate to use silly puns that celebrate classic holiday symbols like eggs, bunnies, and carrots.
- “You are egg-straordinarily special to me! Have an egg-cellent holiday!”
- “No bunny compares to a wonderful friend like you!”
- “Hoppy spring! Hoping your day is stuffed full of sweet treats and sunshine!”
- “You are one egg-stra egg-citing person to know! Have a crackin’ good day!”
Warm, Heartfelt Wishes for Family and Elders
When writing to grandparents, parents, or mentors, balanced messages that focus on renewal, gratitude, and family warmth feel most appropriate. Combining a sweet opening pun with a sincere personal note creates a balanced greeting.
Expressing gratitude for their presence in your life turns your seasonal card into a treasured emotional gift. You can mention warm childhood memories, shared spring traditions, or hopes for health and happiness in the coming season.
Advanced DIY Techniques to Take Your Cards to the Next Level

Once you feel comfortable with basic paper cutting and gluing, exploring advanced techniques adds professional flair to your card collection. Elevating your art style requires only a few specialized supplies and a little patience.
These creative methods turn simple handmade notes into boutique-quality pieces that look like they came from high-end paper shops. Let us explore three advanced crafting techniques.
Heat Embossing for Shiny Raised Textures
Heat embossing uses a slow-drying ink pad, fine embossing powder, and a compact craft heating tool. Stamping a floral border with clear embossing ink and dusting it with gold powder creates a raised, metallic sheen when heated.
The metallic powder melts within seconds, hardening into a smooth, glossy enamel finish that feels wonderful to touch. Gold, rose gold, and iridescent white powders look breathtaking against deep navy or pastel pink cardstock bases.
Watercolor Resist with White Crayons and Inks
Creating soft, blended watercolor backgrounds is easy when using the wax-resist technique. Draw geometric lace designs or write hidden messages on watercolor paper using a plain white wax crayon before painting.
When you brush wet pastel watercolor washes over the paper, the wax repels the water, revealing crisp white lines beneath the paint. This easy technique creates dreamlike sky, meadow, or dyed-egg background textures effortlessly.
How to Package and Mail Handmade Cards Safely
After spending time crafting a detailed, three-dimensional card, sending it through the mail requires extra care to prevent damage. Standard sorting machines can crush raised buttons, tear delicate pop-ups, or snag ribbons.
Taking simple protective measures ensures your paper art arrives at its destination in pristine condition. Here is how to package delicate handmade cards for mailing.
Choosing the Right Envelope Sizes
Standard A2 envelopes measuring 4.375 x 5.75 inches fit half-sheet folded cards perfectly without crowding edges. If your card features thick 3D foam layers or chunky buttons, choose a slightly larger A6 or square envelope to accommodate thickness.
If your card exceeds a quarter-inch in total thickness, local post offices may process it as a non-machinable parcel rather than standard mail. Adding extra postage stamps covers non-machinable handling fees, preventing your envelope from being crushed by high-speed sorting rollers.
Protective Card Inserts and Padded Mailers
Placing a thin sheet of flexible bubble wrap or smooth chipboard over the front face of your card protects delicate accents. The smooth board absorbs exterior package pressure, shielding dimensional paper flowers and fragile googly eyes from flattening.
For extra security, slide your finished card into a clear resealable cello sleeve before placing it inside the paper envelope. The waterproof plastic sleeve shields your artwork from unexpected rain or snow exposure during transit.
Surprising Historical Facts About Spring Greeting Cards
Exchanging seasonal greetings is a rich cultural tradition with deep historical roots stretching back centuries across the globe. Here are a few fascinating historical details about how holiday card traditions evolved.
- Victorian Card Craze: The widespread tradition of sending printed spring greeting cards began in Victorian England during the 1840s following the invention of the penny post.
- The First Printed Egg Cards: German lithographers produced the first mass-market printed egg cards featuring intricate lace borders in the early 1870s.
- Postcard Popularity: Between 1905 and 1915, postal services processed billions of colorful spring postcards, making it the golden age of postcard exchanges.
- Famous Artist Designs: Renowned artists like Ellen Clapsaddle drew over three thousand holiday postcard illustrations during the early twentieth century.
- The World’s Smallest Card: Nanotechnology scientists once created a microscopic holiday greeting card so tiny that over eight thousand could fit on a single postage stamp.
Practice Exercise
Test your knowledge about card-making materials, crafting techniques, and mailing tips with this quick review quiz.
- What is the primary benefit of making a fun easter card by hand?
A. It makes the paper heavier to ship
B. It provides a personal, memorable touch that digital texts cannot match
C. It guarantees your card will win an award
D. It replaces the need for postal stamps - Which paper weight range is recommended for making sturdy card bases?
A. 20-lb to 24-lb printer paper
B. 80-lb to 110-lb cover cardstock
C. Thin newsprint sheet paper
D. Heavy corrugated cardboard shipping boxes - What crafting tool creates a dramatic raised, three-dimensional effect between paper layers?
A. Flat liquid glue sticks
B. 3D foam tape squares
C. Metal paper clips
D. Clear Scotch tape strips - What simple mechanism allows paper characters to pop out when a card opens?
A. High-voltage magnets
B. Folded pop-up paper tabs glued inside the spine
C. Wooden toothpicks
D. Metal coil springs - What technique uses wax crayons to repel watercolor paint washes on paper?
A. Heat embossing
B. Wax-resist watercolor technique
C. Screen printing
D. Foil stamping - Why might a thick, dimensional handmade card require extra postage stamps?
A. Post offices charge extra for colorful ink
B. Cards thicker than a quarter-inch require non-machinable hand sorting
C. Envelopes containing puns cost double to mail
D. Pop-up cards are illegal to send by airmail - What adhesive is best for attaching delicate, intricate paper die cuts cleanly?
A. Heavy industrial duct tape
B. Fine-tip liquid craft glue
C. Melted candle wax
D. Spray paint adhesive - Which historical era saw the initial rise of printed spring greeting cards due to cheap postal rates?
A. Ancient Roman Empire
B. Victorian Era in the 1840s
C. The Roaring Twenties
D. The Early Digital Age of the 1990s
Answer Key
1: B | 2: B | 3: B | 4: B | 5: B | 6: B | 7: B | 8: B
FAQs
1. What can I write in a spring card if I do not like puns?
Write a simple, heartfelt message wishing the recipient warm weather, happiness, and relaxing time spent with family. A sincere note sharing a happy memory or expressing gratitude for their friendship is always deeply appreciated.
2. How can I make cards with young toddlers without massive mess?
Use washable dot markers, large foam stickers, pre-cut paper shapes, and clean glue sponges inside plastic containers. Toddlers love pressing stickers onto card bases and stamping colorful dots, keeping mess contained and stress-free.
3. Can I make handmade cards using recycled household items?
Yes, upcycling old magazine pages, colorful catalog covers, fabric scraps, and spare clothing buttons creates stunning textured cards. Cutting colorful patterns from old junk mail envelopes adds beautiful security-patterned textures to geometric collages.
4. How do I prevent my cardstock from warping when using watercolors?
Use dedicated 140-pound watercolor paper for wet-painted panels, securing the edges to your table with painter’s tape while painting. Allow the paper to dry completely flat before gluing the painted panel onto your main cardstock base.
5. Are square envelopes more expensive to mail than rectangular ones?
Yes, the United States Postal Service and international mail providers charge non-machinable surcharges on square envelopes. Square shapes require manual orientation during sorting because automated machinery cannot determine which way is top or bottom.
Conclusion
Creating a fun easter card is a delightful, heart-warming way to share springtime happiness with friends, family, and neighbors. By combining colorful paper stock, charming character illustrations, clever puns, and interactive pop-up tabs, you can craft truly memorable greetings.
Whether you build simple sticker collages with young kids or experiment with heat embossing and watercolor techniques, the joy lies in the creative process. Receiving a personalized note made with love always brightens someone’s day and strengthens emotional bonds.
Gather your cardstock, scissors, and favorite markers today, and start crafting your colorful batch of spring greetings. Share your finished paper masterpieces with loved ones and inspire everyone to celebrate the season with creativity!

Zoey Carter is the creator and writer behind funsvibe.com, a friendly website where readers can discover interesting, entertaining, and useful content. She enjoys exploring different topics and turning fresh ideas into simple, engaging articles that are easy to understand. Zoey believes that good content should be informative while still feeling natural and enjoyable to read.
Through funsvibe.com, Zoey Carter focuses on sharing original, reader friendly content with a warm and conversational style. She enjoys researching new subjects, discovering helpful information, and presenting ideas in a clear way. Her goal is to make every visit enjoyable while giving readers something valuable to discover and remember.